


or Red Velvet Cake with Icing
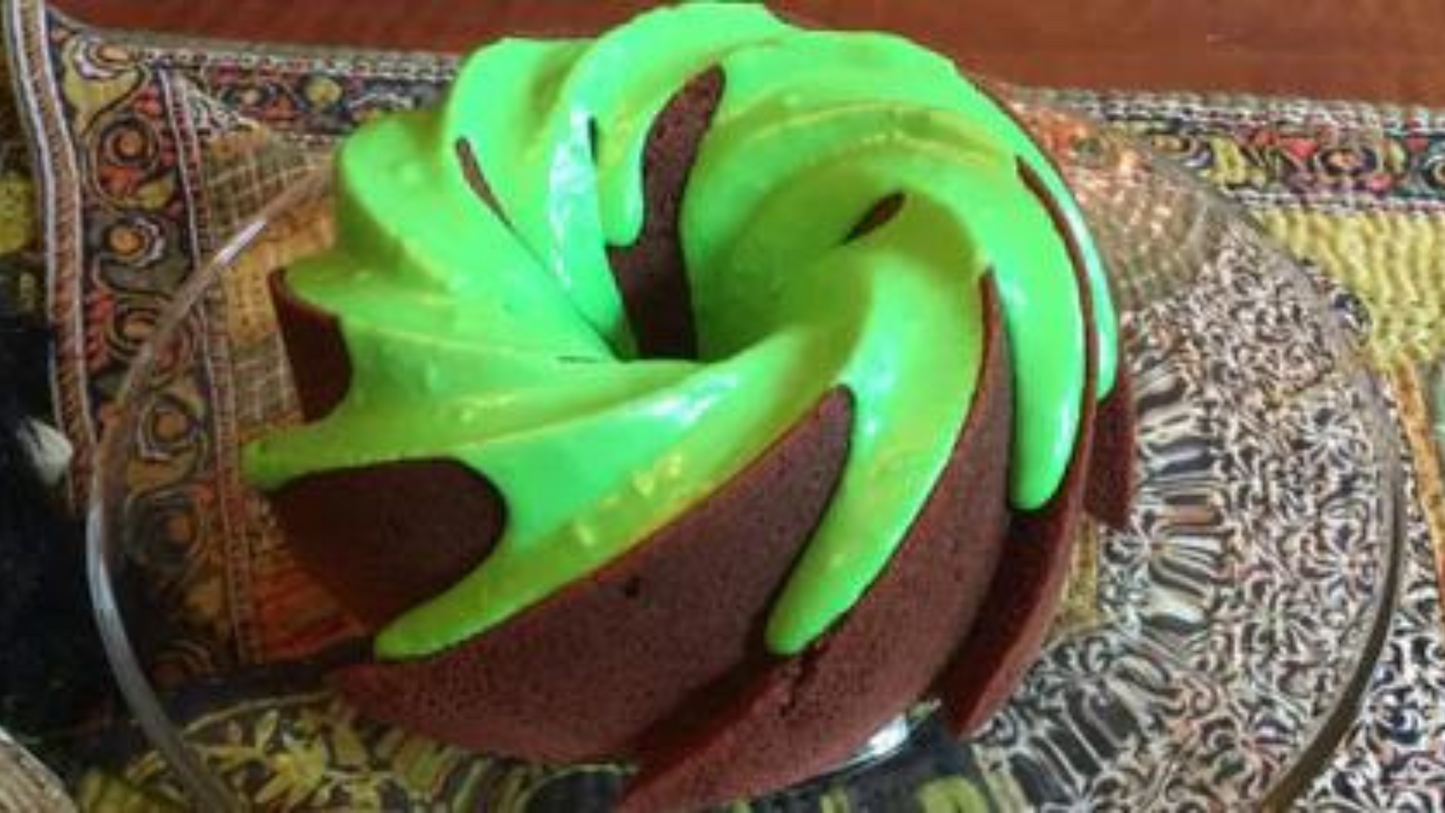
I just love red velvet cake, and baby, this recipe is so moist and yummy! Buttermilk is the secret ingredient, but the leaf green gel food coloring really makes this cake pop in the wow-department.
I used a Heritage bundt pan to make this devilish beauty and all I can say is, “hail to the bundt cake!” With so many different bundt cake designs you can easily express yourself while coinciding with the seasons and holidays.
One pan and one icing – how user-friendly is that! And it has a hole in the middle to hold extra stuff (My Big Fat Greek Wedding…anybody? ANYBODY?)
Anyway…this slimy red devil favorite can end any Halloween celebration with the right dishes served ahead. Check out my outrageous Halloween centerpiece, Frankenstein’s Bones, Eggs in Purgatory, Oiled Intestines, Charred Garden Veggies, and Maggot Salad to add a little fun to your October.
Of course, these devilish delights can be enjoyed year-round as well!
Serves 8-10
[ingredients title=”equipment”]
- Electric standing mixer, with bowl and paddle
- Hand mixer (for icing)
- Bundt pan, standard size *
- Sifter and wax paper (for easy dispensing of sifted dry ingredients)
- Measuring spoons and cups
- Rubber spatula
- Cake tester or wooden skewer
- Cake rack
- Sheet pan
- Mixing bowl
- Disposable gloves (as protection from icing gel color)
- Large serving spoon
- Cake lifter * (for transitioning cake to serving stand or plate)
[/ingredients]
[ingredients title=”Ingredients”]
- 2 1/2 C All Purpose flour
- 1/3 C Cornstarch
- 1 t Baking soda
- 2 T Cocoa powder
- 1/2 t Salt
- 1/2 C + 2 T Butter, unsalted, softened
- 2 C Sugar
- 1/3 C + 1 T Coconut oil
- 4 Extra large eggs, separated
- Non-stick spray
- 1/2 T Vanilla extract
- 1 t White balsamic vinegar
- 1 C Buttermilk
- 1/2 oz. Jar, red gel food coloring by Wilton *
- 1/2 t Green leaf gel food coloring by Wilton *
- 1 1/2 – 2 C Powdered sugar *
- Pinch of salt *
- 1-3 T Milk *
- 1-2 t Water *
[/ingredients]
Chef Gerrie’s Notes:
* Bundt pan: Nordic Ware Platinum is the best. With a little non- stick spray, cake just pops out and it’s evenly cooked. Heritage, jubilee, or original style design pans are all great.
* Cake lifter: If you bake a lot, a cake lifter is an essential piece of small wares for your kitchen. With that said, it’s not totally necessary… You can use a couple of metal spatulas to transfer the cake to your serving stand or plate.
* Gel food coloring: The concentrated colors by Wilton, are my personal favorite but you could also use conventional food coloring – use the whole bottle.
If you’re using a darker batter, you need to add more of the gel color. When starting with a white batter, add gel color little-by-little until you achieve your desired color.
Be sure to wear gloves to avoid staining your hands.
* Powdered Sugar: When making powdered sugar icing, I always make a little more than I need just to make sure I’ll have enough.
If your powdered sugar is clumpy, sift it!
You can make your own powder sugar by blending, or using the food processor, to combine regular sugar, coconut sugar or turbinado sugar. Add a little of cornstarch to avoid clumping.
* Milk and water: These ingredients need to be added to the powder sugar a little at a time while mixing with the hand mixer. You want it smooth, not lumpy, and thicker than you may think. Then mix in your color until the icing slowly drapes off your spoon and onto the cake.
[directions title=”Directions”]
- Preheat oven to 325° F.
-
Spray bundt pan with non-stick spray very well. If you have an older type tube pan, I suggest you both grease, and dust with flour.

Greased Heritage bundt pan -
Sift dry ingredients onto wax paper so you can easily add to the batter.
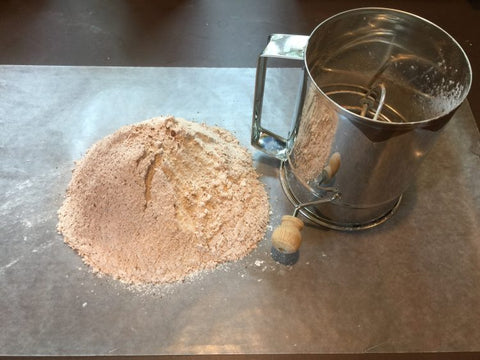
Sifted flour, cornstarch, baking soda, cocoa powder and salt on wax paper. -
Cream softened butter and sugar then add oil slowly while mixing batter well. Incorporate the egg yolks one at a time, then add vanilla and vinegar. Mix well to reach a smooth batter.

Creamed softened butter and sugar. 
After oil and vinegar has been added. -
Lower mixer speed and add dry ingredients and buttermilk…but in this specific way. Start by lowering your mixer speed and then slowly add the sifted dry ingredients in thirds, alternating with buttermilk until batter is smooth.

Adding the dry ingredient mixture to the batter. 
Adding buttermilk…my secret ingredient. -
Add red gel food coloring and mix until totally incorporated. Keep in mind that the color of the cake will be darker after baking, than the raw batter is now.

The red devil is coming! -
Whisk egg whites in a separate clean bowl until very frothy and fluffy, but not stiff! Fold egg whites into batter a little at a time until totally incorporated.

Frothy and fluffy egg whites -
Fill bundt pan evenly. Tap the pan onto a board or tea towel to release any air bubbles. Place in the middle of the preheated oven.

Red velvet batter is done! 
Place in the middle of the oven for an even bake. - Bake 50-60 minutes. Use your cake tester to check the consistency at 50 minutes. If it comes out clean, its done, if not, keep it in for another 10 minutes.
-
Prepare icing glaze while your cake is cooking… In a clean bowl, add powdered sugar, a tablespoon of milk, and a teaspoon of water with a pinch of salt.With a hand held mixer, slowly mix together and add another tablespoon of milk until icing is smooth and really thick. It should slowly drape off of the mixer blades when it’s ready.Add green gel food coloring, a little at a time, while mixing until you reach the desired color. Set aside.

Adding milk and water to powdered sugar. 
Adding green gel food coloring. 
Green powdered sugar icing -
Cool your cake on a wire rack until you can hold the sides of the pan with your bare hands. Then invert the pan onto the rack.

Baked red velvet cake -
Drape icing glaze with a large spoon in a two inch strip evenly on top of the cake.

Draped icing on top of the red velvet cake. My secret to achieving an even glaze… Place your cake on the cooling rack over an inverted sheet pan to catch any extra glaze. Then drape a 2 inch strip of icing on top of the cake and strongly tap the rack onto the inverted sheet pan. Do this one or to times. Like magic, the glaze should flow slowly down the crevices of the cake without hiding the design of the cake. Low and behold perfectly smoothed and even icing glaze.
The slime is sliding! -
Transfer cake to stand or serving plate with a cake lifter or a couple of metal spatulas.

Transfer cooled and iced cake with a cake lifter or flat sheets. 
Ta-da! Perfect for your next Halloween party! 
Slimy red devil cake with the rest of the ghoulish gourmets and centerpiece.
[/directions]
